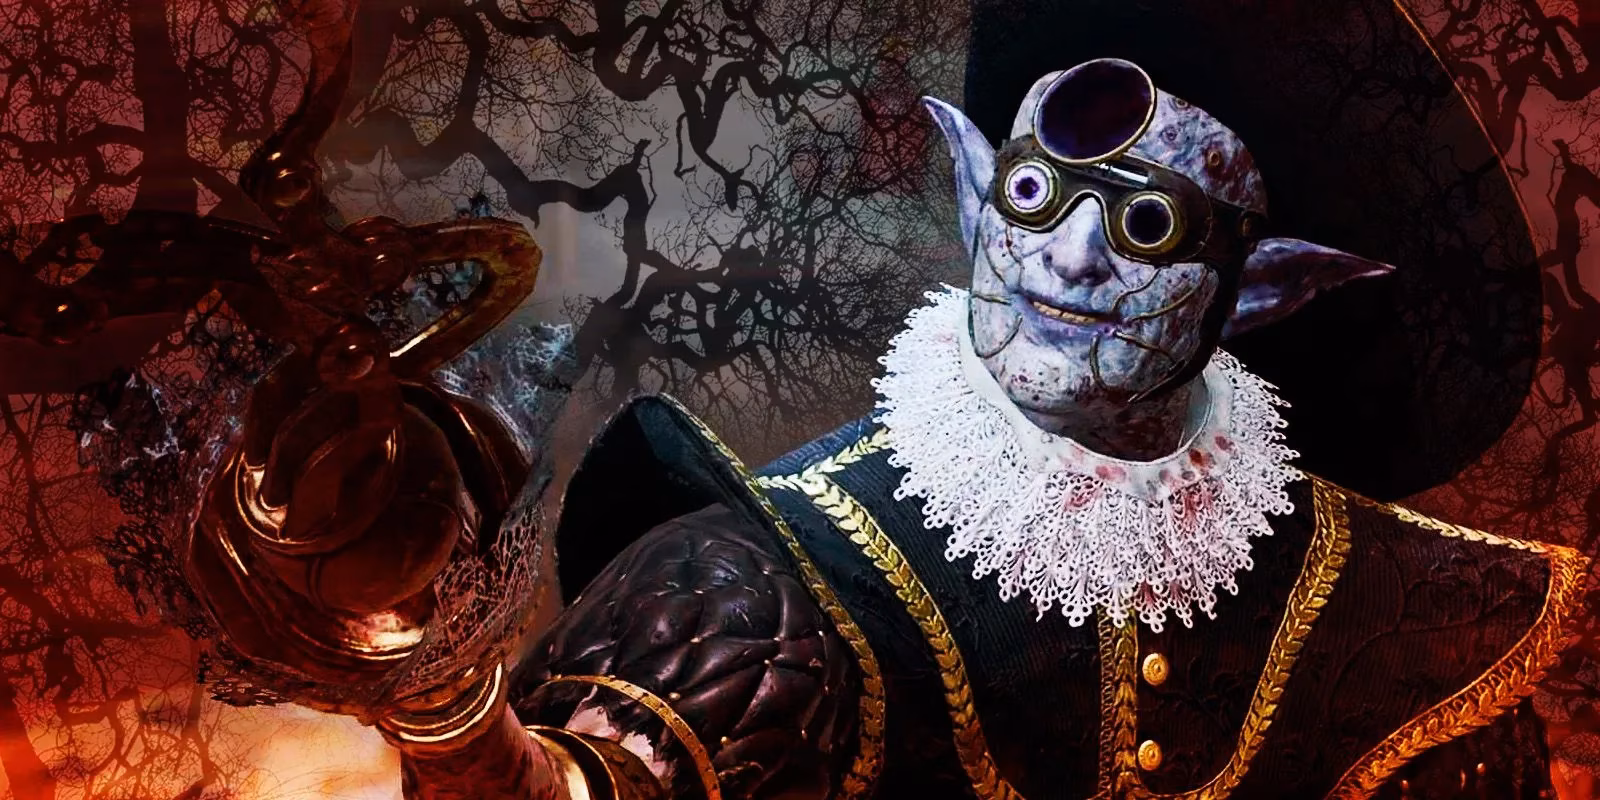
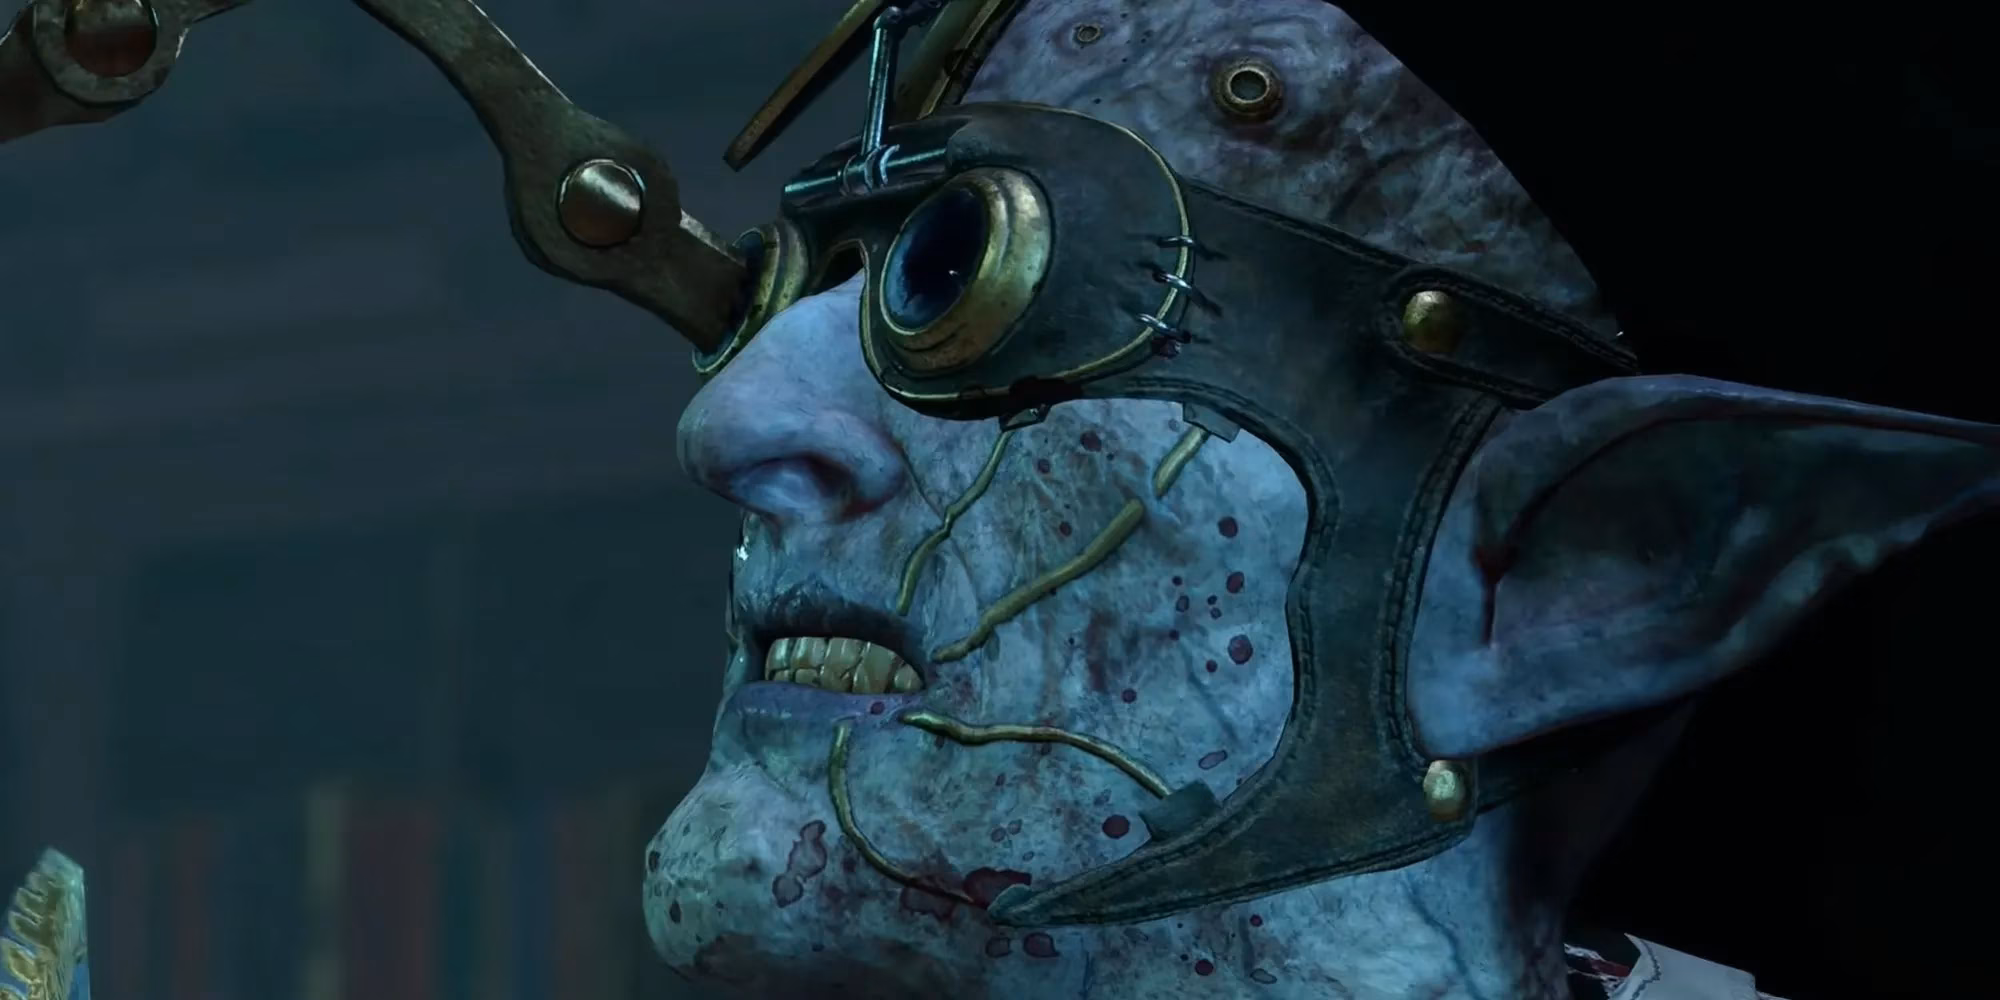
Picture this: you’re strolling through the Shadow-Cursed Lands, trying to lift a centuries-old curse, and suddenly you walk into a creepy hospital full of undead nurses with a fashion sense stuck somewhere between “Victorian horror” and “bad cosplay.” The boss of this joint? One Malus Thorm—a sadistic surgeon who’s one part medical malpractice, two parts Sharran zealotry. Fighting him straight up is a total TPK bait, especially with his nurse squad ready to gang up on your party. But here’s the kicker—you can make the whole encounter a complete cakewalk without even rolling initiative. Yes, you can talk your way into making a deranged immortal kill himself, and it’s as gloriously dark as it sounds.
Where the Madness Unfolds
Malus Thorm hangs out in the House of Healing, smack in the middle of Reithwin Town during Act 2. You’ll need to survive the Shadow Curse to get there (torches, light spells, or a Moonlantern are your best buds). The building itself is a three‑ring circus of dread: the Operating Theatre (main attraction), a Hospital Library (full of light reading on vivisection), and a Morgue (because of course). Before you even think about chatting up Malus, do yourself a favor and sneak past him. Head north to his office and snag the book “Surgery and Physiology: A Sharran's Primer.” This tome is the secret sauce—it unlocks dialogue options that turn the whole mess into a breeze.
The “Let the Nurses Do Your Dirty Work” Strat
Approach Malus in the Operating Theatre and you’ll witness a live surgery demonstration on a poor soul strapped to a table. The nurses are practicing their “techniques,” which mostly involve slowly eviscerating a conscious victim. Shadowheart might even nod along to Malus’ sermon on the virtues of Shar—she’s got questionable taste, but we love her anyway. When the dialogue opens, you’ve got a couple of paths to avoid a fight:
-
Inspect the sisters’ instruments (Intelligence check) – point out their scalpels are about as sharp as a butter knife.
-
Persuade Malus the nurses aren’t ready (Charisma check) – tell him his students need more practice… on themselves.
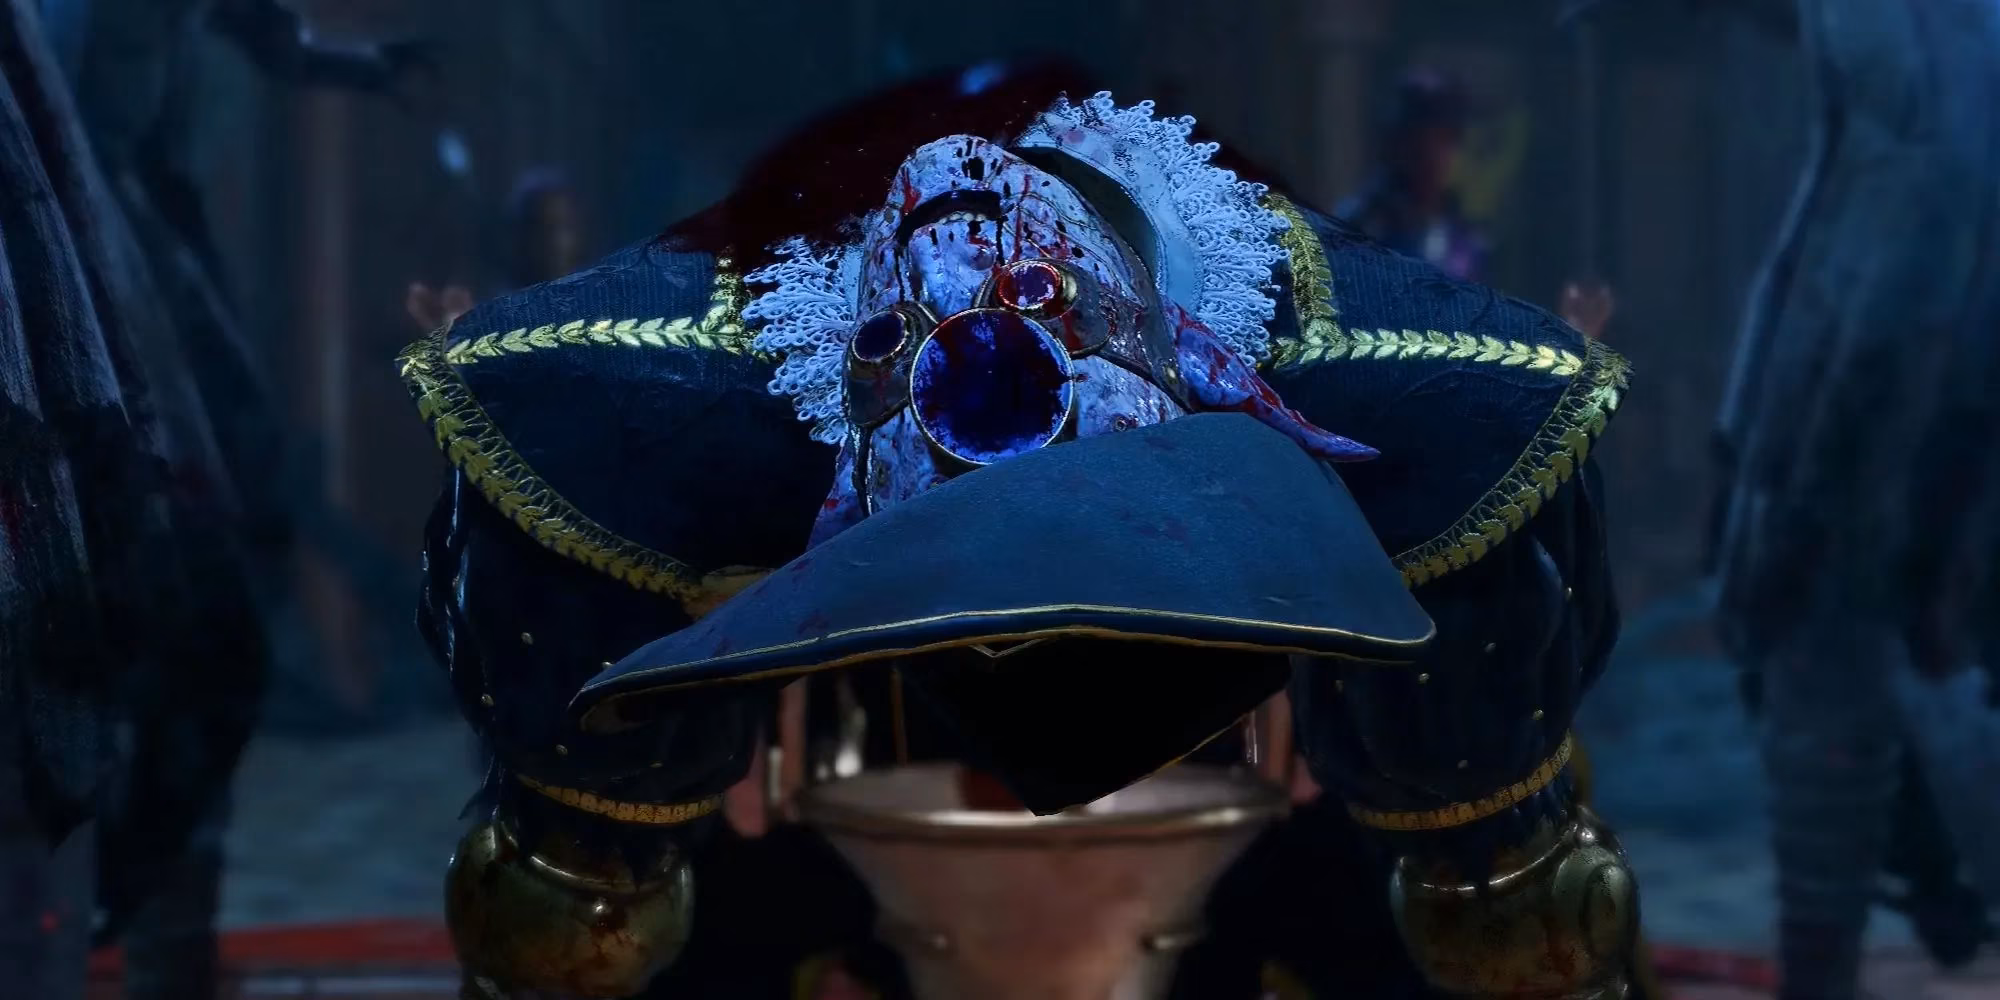
Pass either and you’ll get the chance to push further. Convince him the nurses should “train” on each other. If you ace that Charisma check, Malus orders his staff to commit sibling-on-sibling stabbing. The nurses off each other, leaving only the big man and the whimpering patient. Then comes the pièce de résistance: perform a Deception action (another Charisma check) and sell Malus on the idea that true devotion to Shar means kissing his own brain goodbye. He’ll literally jam his mechanical finger through his eye socket and drop dead. Loot his corpse, free the blinded victim, and walk away like a smooth-talking sociopath. And the best part? The rest of the House of Healing’s undead don’t even aggro. You can loot every drawer and shelf in peace.
The “Extra Credit for the Nurses” Alternative
There’s another flavor of zero‑combat cheese, albeit a bit messier. Instead of making the nurses kill each other, you can persuade Malus they need a better subject—him. Nail that Charisma check and Malus orders his nurses to practice on the patient first (RIP), then hops on the table himself. The nurses do what they do best: stab. A lot. He croaks, you get the loot, and everyone’s happy except the dead guy. The downside? You can’t loot the nurses because they’re still alive, and the victim gets murdered in front of you. For maximum profit, the first method (nurses kill each other, then Malus offs himself) is the golden ticket. You get all the spoils, free XP from skill checks, and a story to tell back at camp.
The Complete Dialogue Cheat Sheet
Every step relies on passing a few skill checks. Here’s a quick breakdown of options when you first chat with Malus (after you’ve got that surgery book):
| Initial Interaction | Skill Required | Outcome |
|---|---|---|
| Inspect the nurses’ instruments | Intelligence (DC 12) | Opens path to “practice on yourselves” |
| Persuade Malus the nurses aren’t ready | Charisma (DC 14) | Same path as above |
| (If you skip the above) Stand by silently | — | Might lead to combat |
Once you’re on the training talk, you’ll see these gems:
| Follow‑up Dialogue | Skill Required | Result |
|---|---|---|
| “The sisters should practice on each other” | Charisma (DC 14) | Nurses duel to the death |
| “You need a better subject” (Malus) | Charisma (DC 16) | Nurses kill Malus directly |
| “None of the above” (you read the book) | — | Opens new deception option later |
After the nurses are dead (method one), you get one last chance to flex your silver tongue:
| Final Push | Skill Required | Consequence |
|---|---|---|
| “The final lesson is to demonstrate absence… on yourself” | Deception (DC 18) | Malus stabs his own eye socket |
| “Nah, I’m good” | — | He fights you, minus his nurses |
Passing all three checks is the video‑game equivalent of a mic drop. You net the Surgeon’s Subjugation Amulet, Poisoner’s Gloves, and—most importantly—the Battered Lute. That lute? It’s the key to finally lifting the Shadow Curse, so you’ll be glad you grabbed it without burning spell slots.
Why This is the Ultimate Flex
Look, you can fight Malus Thorm the old‑fashioned way. His nurses have that annoying habit of buffing him and debuffing you, plus his legendary actions can wreck an unprepared party. But where’s the fun in that? By 2026, any seasoned Baldur’s Gate 3 player knows that Larian’s true endgame is min‑maxing dialogue options. The whole encounter is a fantastic example of how the game rewards roleplaying and cunning over brute force. Plus, the sheer absurdity of convincing a Sharran surgeon to self‑lobotomize is peak D&D storytelling—it’s dark, it’s hilarious, and it saves you a potential party wipe. So next time you’re in Reithwin Town, channel your inner charisma monster, grab that primer, and let Malus do the hard work. Just remember: when he asks you to “follow his example,” smile politely and walk away. Your party will thank you.