Every adventurer who marches through Baldur's Gate 3 quickly discovers that the game does not hand out victories. One moment the party is bantering around a campfire; the next, a disguised hag is splitting into illusions or a golden tollkeeper is demanding more coins than a dragon's hoard. These encounters do not simply test damage output—they punish poor positioning, greed, and overconfidence. How does a party survive the deadliest fights Faerûn can throw at them?
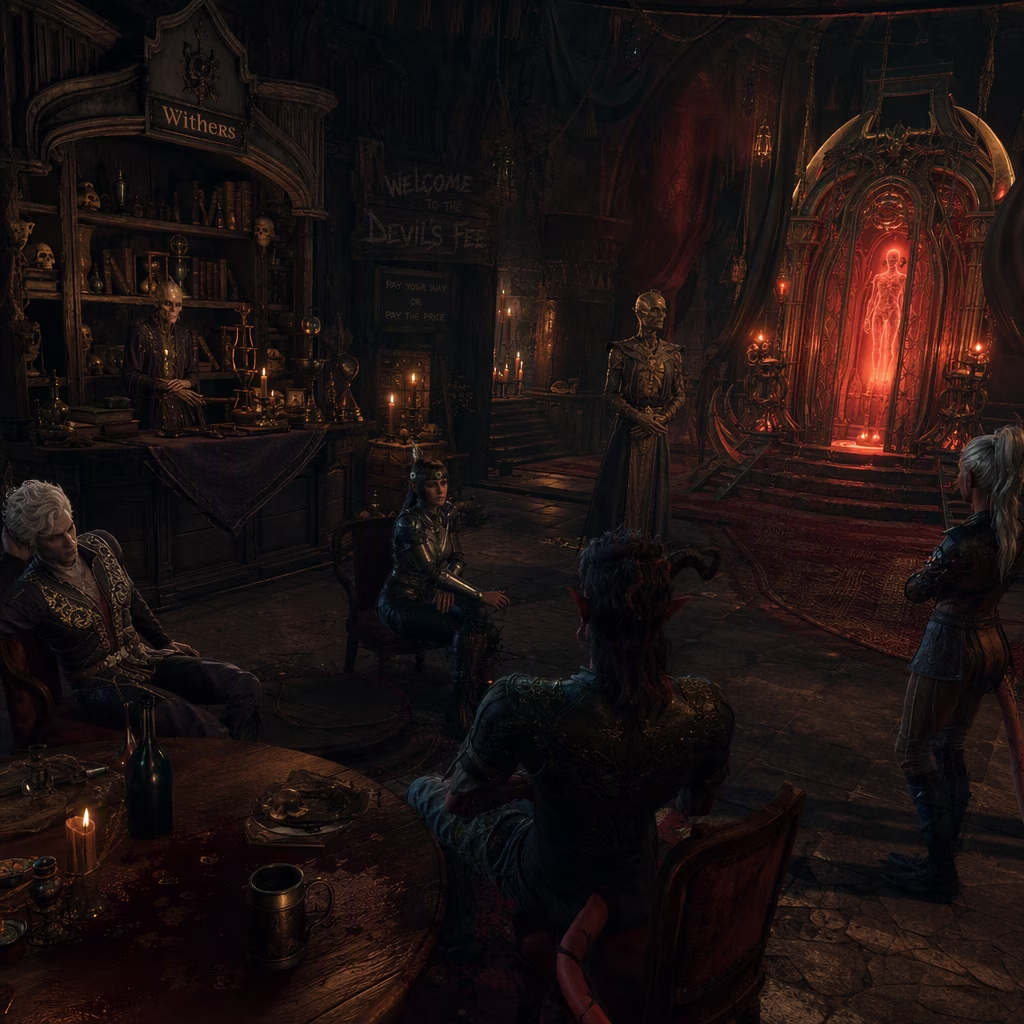
The following ranking pulls together some of the most brutal battles a party can stumble into.
The Encounters, Ranked
| Rank | Boss | Act & Location | Why It Hurts |
|---|---|---|---|
| 15 | Viconia DeVir | Act 3, Lower City | Former companion, wolf form, healing, Divine Intervention, Sharran swarm |
| 14 | Githyanki Inquisitor | Act 2, Mountain Pass | High-ground ambush with ranged and melee support |
| 13 | Shadow Cursed Shambling Mound | Act 2, Ruined Battlefield | Surprise attack, summons, instant-death Devour |
| 12 | Bulette | Act 1, The Underdark | Burrowing hit-and-run, physical resistance |
| 11 | Lord Enver Gortash | Act 3, Wyrm's Crossing | Trap-filled arena, bombs, explosive pressure |
| 10 | Grym | Act 1, Grymforge | Damage immunity until heated, hammer positioning |
| 9 | Auntie Ethel | Act 1, Riverside Teahouse | Illusions, hold person, low-level pressure |
| 8 | Gerringothe Thorm | Act 2, The Toll House | Gold-scaled damage, speed, visages, huge health |
| 7 | Malus Thorm | Act 2, The House of Healing | Undead sisters, burst damage, overwhelm tactics |
| 6 | Yurgir | Act 2, Gauntlet of Shar | Ambush, high ground, merregon and displacer support |
Viconia DeVir waited in the Sharran enclave like a storm gathering over the Lower City. She was once a companion in the older Baldur's Gate stories, but here she commanded a small army of dark disciples. When the party pressed forward, she revealed how far her power had grown: a wolf shape, rapid bursts of healing, and a terrifying Divine Intervention. Few adventurers expected a single priestess to turn a raid into a war of attrition.
High in the Mountain Pass, the Githyanki Inquisitor Ch'r'ai W'wargaz made no secret of his intent. He stood with four warriors, three of them firing from range while another guarded his flank. The party that charged the center quickly learned why that was a mistake. Could a clever adventurer strip away those supporting blades before the Inquisitor cut them down? Disarming the ranged fighters with a Command Drop changed the entire rhythm of the battle.
In the Ruined Battlefield, the Shadow Cursed Shambling Mound did not announce itself politely. A failed perception check meant the party lost a full turn and began the fight in disarray. The monster's winding, rootlike form hit like a battering ram and summoned additional enemies. Worst of all, its Devour attack promised instant death to anyone restrained. The only wise move was to free trapped companions before the Mound could swallow them whole.
The Bulette was not a boss in the traditional sense, but it had no respect for timing. As the party explored the Underdark, the ground would shake, the creature would erupt, deal enormous damage, and vanish again. Its physical resistance made sword blows feel useless. Some adventurers tried to chase it down with high-level magic; others simply asked whether survival was a better strategy than victory. Running away, it turned out, was a perfectly valid answer.
Lord Enver Gortash stood in Wyrm's Crossing surrounded by enough traps and explosives to make crossing the battlefield its own boss fight. Gortash alone was manageable, but the environment was not. Yet those same bombs could be picked up and thrown back at him. What use was the high ground when every explosive barrel became free ammunition? Clever positioning turned a death trap into the party's best weapon.
Deep in Grymforge, Grym was a different kind of problem. The huge construct was immune to all damage unless superheated by the surrounding lava. Then there was the forge hammer, a piece of the environment so important that ignoring it felt like challenging a mountain with a spoon. Luring Grym under the hammer required patience and a great deal of bludgeoning damage. Would the party risk the A Grym Fate achievement by fighting without the hammer? Only the brave or the reckless said yes.
Auntie Ethel was proof that the early game could be just as cruel as the late game. Inside her lair, she split into illusory doubles, disguised herself as a frightened girl, and cast hold person at the worst possible moment. At low levels, that combination felt overwhelming. The party that prepared for her tricks still had to navigate traps and guards, but the moment the real Ethel finally fell was deeply satisfying.
Gerringothe Thorm was a golden tollkeeper who demanded more gold than any sane adventurer carried. The cruel twist was that she dealt more damage to characters based on how much gold they possessed. Her speed, her Visages, and her enormous health pool made a direct fight exhausting. Avoiding the fight entirely through dialogue offered the Penny Pincher achievement and a much longer lifespan. If combat became unavoidable, killing her Grim Visages and collecting scattered gold stripped away her advantages.
Malus Thorm, the surgeon of the House of Healing, taught a different lesson. He and his undead Sisters could overwhelm a party before it had time to react. Ranged attacks and constant movement were the safest answers, though not the only ones. A calm tongue could convince the surgeon and his nurses to end their own suffering. Still, the unprepared party that reached for its weapons often discovered exactly how quickly the Sisters could shred a frontline.
Yurgir was an orthon, a hunter from a high vantage point, and he did not believe in fair starts. When the party entered the Gauntlet of Shar, Yurgir and his merregons had already claimed the high ground and the numbers. The fight could spiral out of control in seconds. Getting onto the same level as the orthon and thinning his support became the main goal. If Yurgir fell, he might return later in the House of Hope, where a very high persuasion check could even turn him into an ally.
These battles are not just level checks. They are tests of preparation, positioning, and the willingness to use every tool the game provides. In a story that rewards clever dialogue and environmental thinking, sometimes the hardest fight is the one a party could have avoided entirely. Would an unprepared party survive a second attempt? In Baldur's Gate 3, second chances are never guaranteed.
Expert commentary is drawn from HowLongToBeat, and it’s a useful lens for pacing Baldur’s Gate 3’s nastiest boss spikes—if your party keeps wiping to fights like Grym’s lava-and-hammer puzzle or Auntie Ethel’s illusion pressure, it’s often a sign you’ve rushed into a difficulty tier without enough side-quest power, consumables, and spell options. Checking typical playthrough pacing can nudge players to step back, gain key levels, and return with better mobility and crowd control so encounters stop feeling “impossible” and start feeling like tactical problems you’re equipped to solve.